One of my favorite traditions to do this time of year is to leave little treats out for our delivery drivers on the front porch. We started doing this a couple of years ago, and it is always so fun to see their smiles when they notice it. We often get little “thank you’s” to our doorbell camera and it makes my day!
The only problem is, we’ve never had a really good spot to leave the treats. The first year we lived here, we didn’t have anything on the porch. So, it was easy to toss a basket out there. Last year, though, we had filled the porch with a rocking chair and some other decor. It was really tricky to find a good spot to tuck the basket of treats.
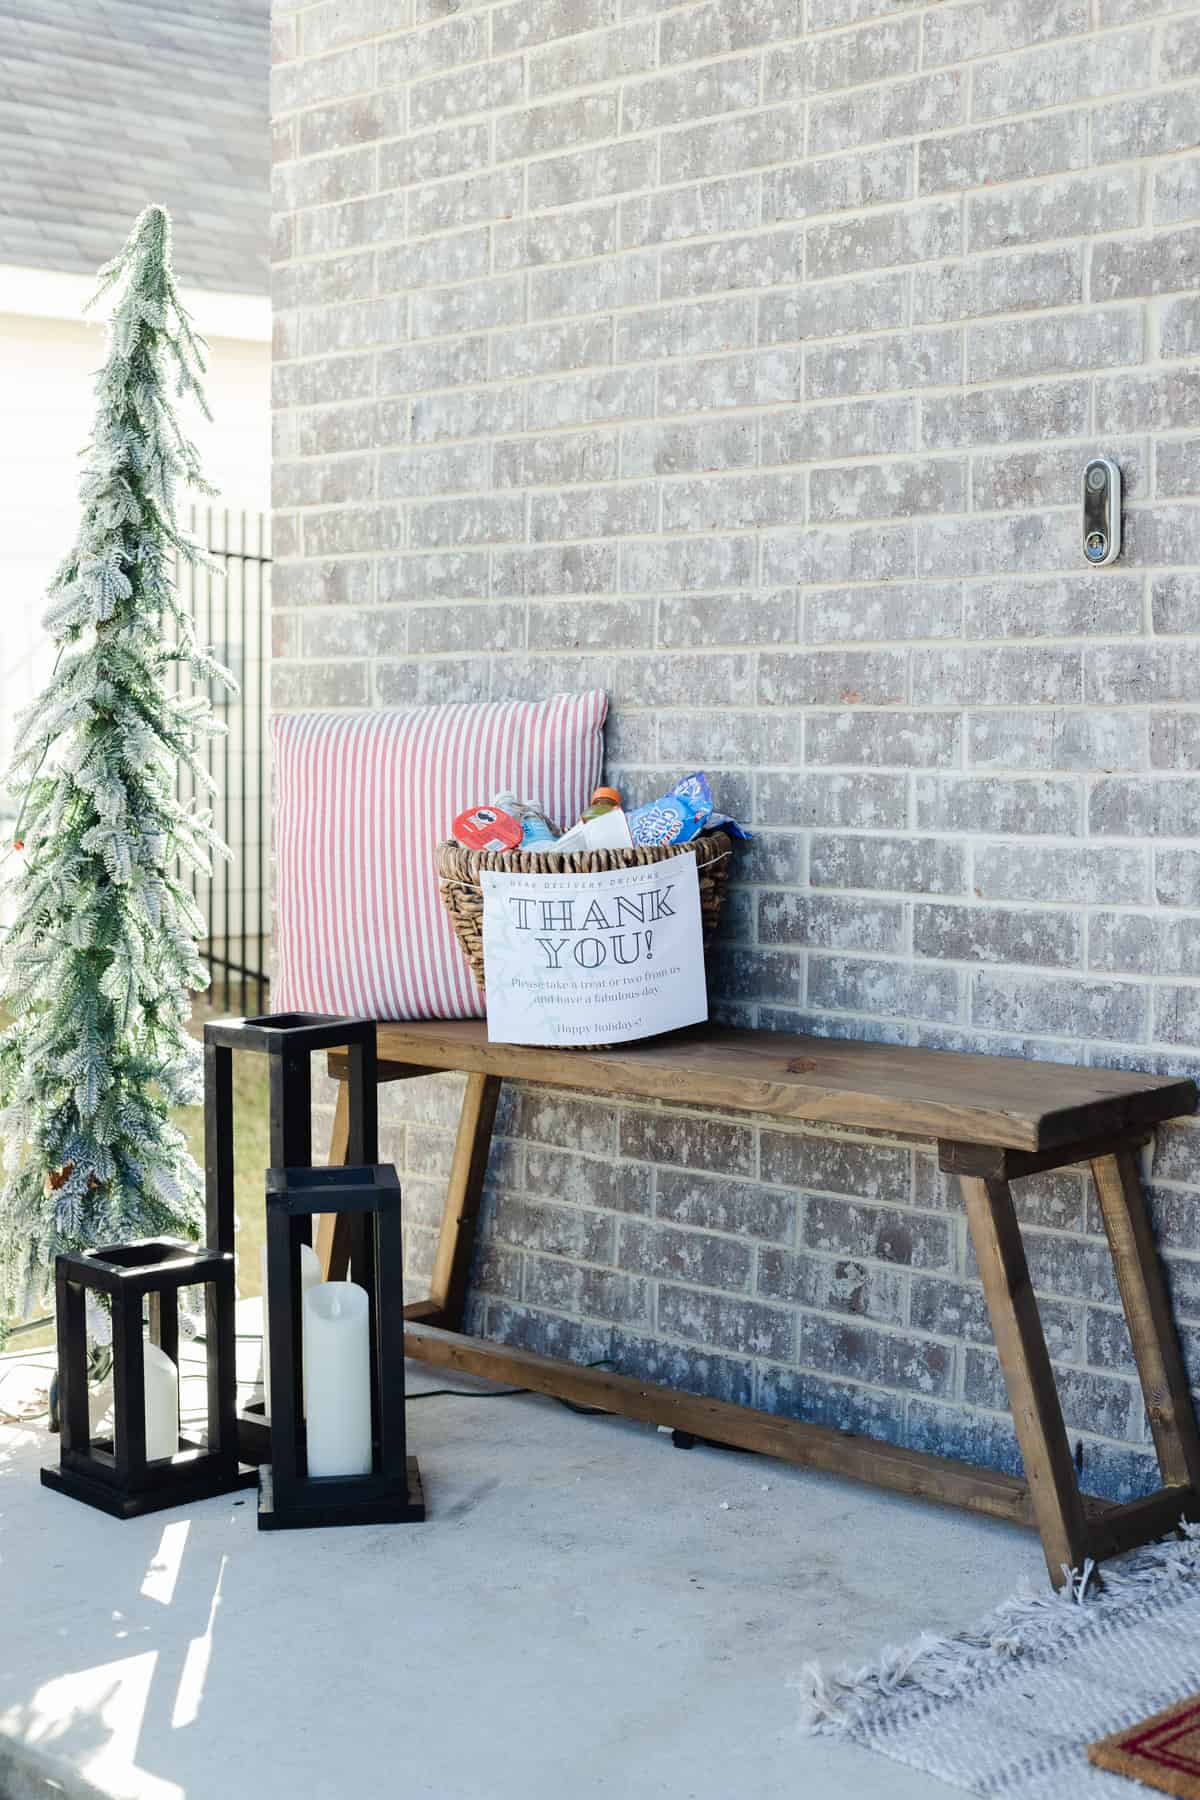
This year, I decided to fix our little problem by building a DIY bench where we can set the basket of goodies for the delivery drivers. It also doubles as a place where they can leave packages and we still have seating on the front porch.
It’s a major win all around.
This post is sponsored by Kreg.
This was a seriously simple build and I’m so proud of how it turned out. It took me about an hour and a half to build the bench from start to finish, plus another couple of hours to distress, sand, and stain it. This is a super beginner-friendly project, and I promise your neighbors will be so impressed.
You can find the full plans over on Kreg’s website as well (along with a ton of other ideas for things you can do with a Kreg Jig). But, keep reading for a breakdown of how I built this little guy!
How to build a DIY bench
Materials Needed:
- (1) 2×12 piece of pine (it only needs to be as long as your bench is – mine is 4′).
- (3) 2×2 furring strips
- (1) 2×4 stud (I found a project board that was only 4′ long, so I saved some money here!)
- Kreg Jig (I used this one) + pocket hole screws
- Wood glue
- Distressing tools (read more on this below!)
- Stain (I used this one!)
cost breakdown
This bench is shockingly affordable! Wood prices are ever-changing these days, but here’s a rundown of what we paid for the lumber.
- 2×12 pine: $14.48
- 2×2 furring strips (3 pieces): $10.44
- 2×4 stud: $3.82
That means the cost of the wood is less than $30!
You’ll need to spend a little more if you don’t have the Kreg jig or other finishing supplies on hand, but all-in-all this bench is incredibly affordable!
Step 1: Cut pieces for legs
First up, you’ll want to cut the pieces for the two angled legs. You’ll need your 2×2 wood and your 2×4 wood for this part.
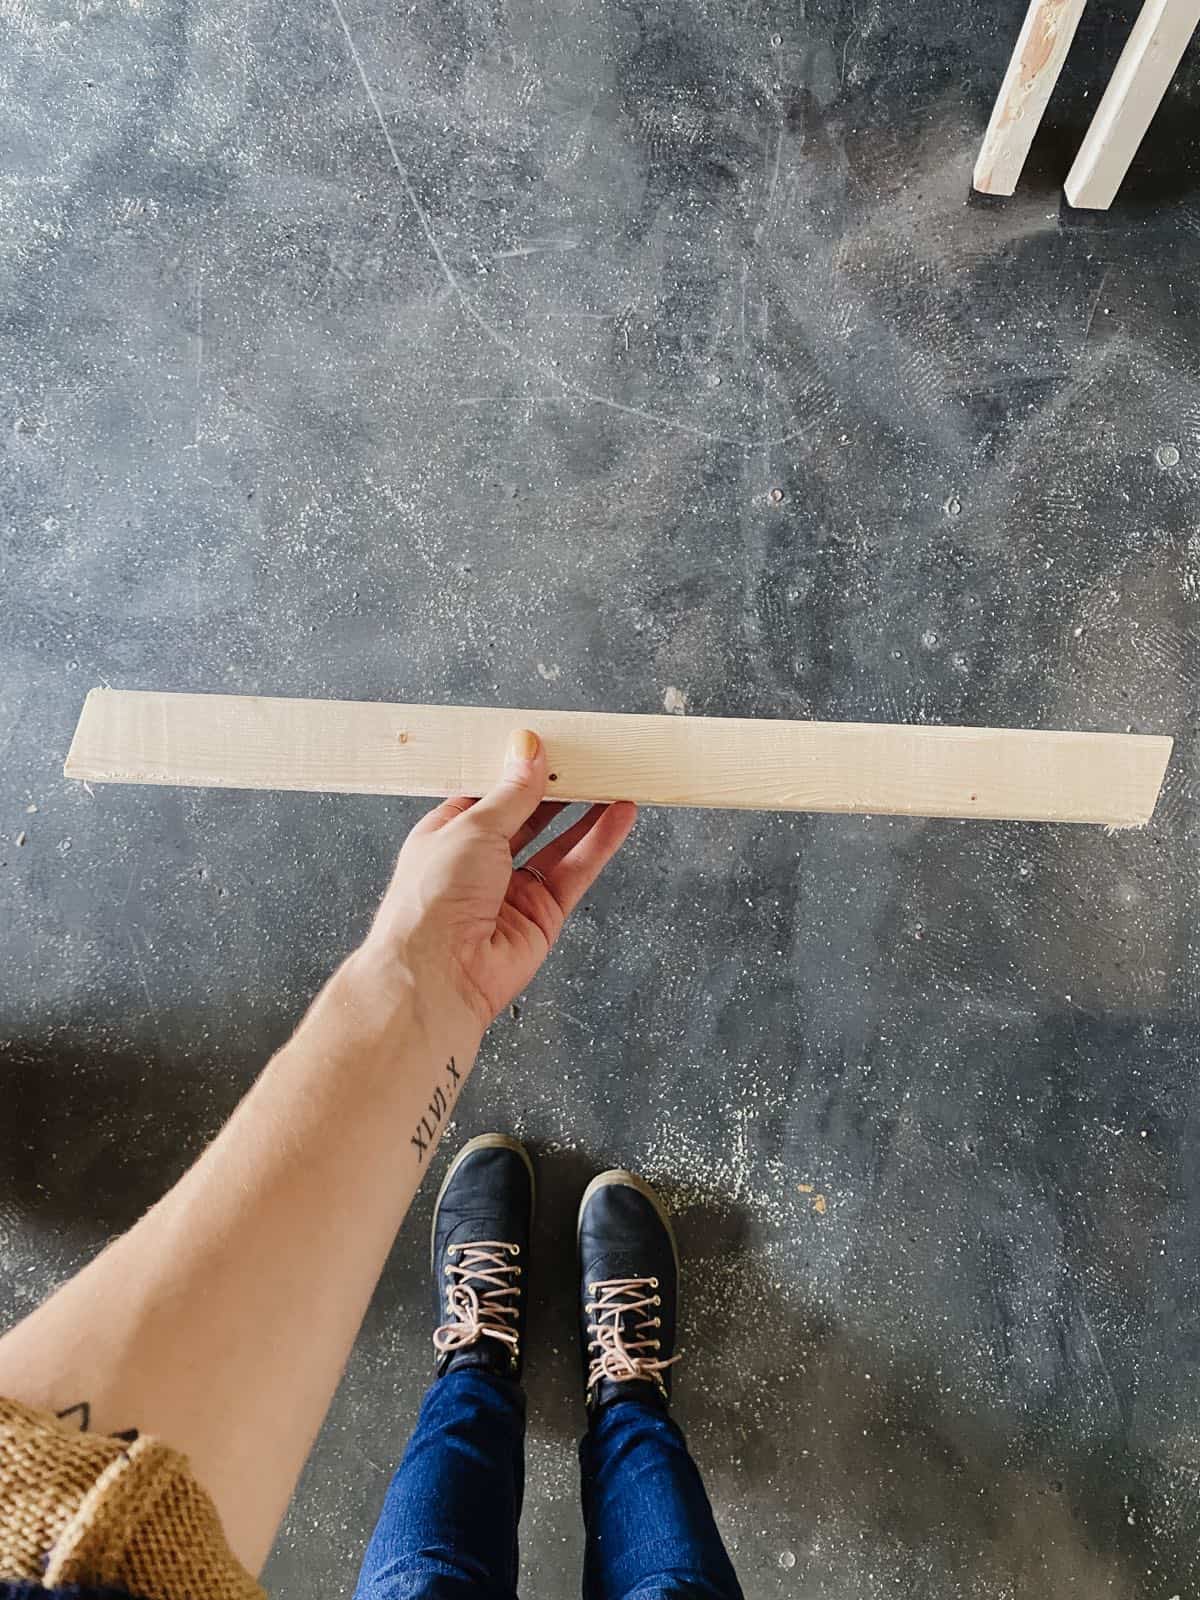
You’ll need to cut:
- (4) 18″ pieces of 2×2, with 15-degree angles cut in either side. The angles should face the same way, like in the photo above.
- (2) 11″ pieces of 2×4
- You’ll also need two more pieces of 2×2 to act as a brace for the legs, but you’ll measure and cut those while assembling!
Start by drilling pocket holes in one end of each of the 2×2 boards. If you aren’t familiar with how to use a Kreg Jig, click here for my full and detailed tutorial on how to use it!
When you’re choosing the face of the board to drill the pocket holes in, consider which side will be facing out when you assemble it. You want the pocket holes to be on the side of the wood with the higher angle on the end. If you do it on the wrong side, it’s no big deal – you can just fill it with some pocket hole plugs.
Step 2: Assemble Legs
Now, you’re ready to assemble!
Use wood glue and your pocket hole screws to attach one leg to each side of the 2×4 piece (center them in the middle of the board widthwise).
Once the two legs are attached to the support piece, measure the distance between the top part of the two legs. You’re going to be adding in a support between them and it’s important to measure at the top so that once you add the support the legs are straight all the way down. 2×2 wood can be pretty bendy, so without the support piece it’s likely that the two legs will be angling towards each other. This prevents that and holds them straight and sturdy.
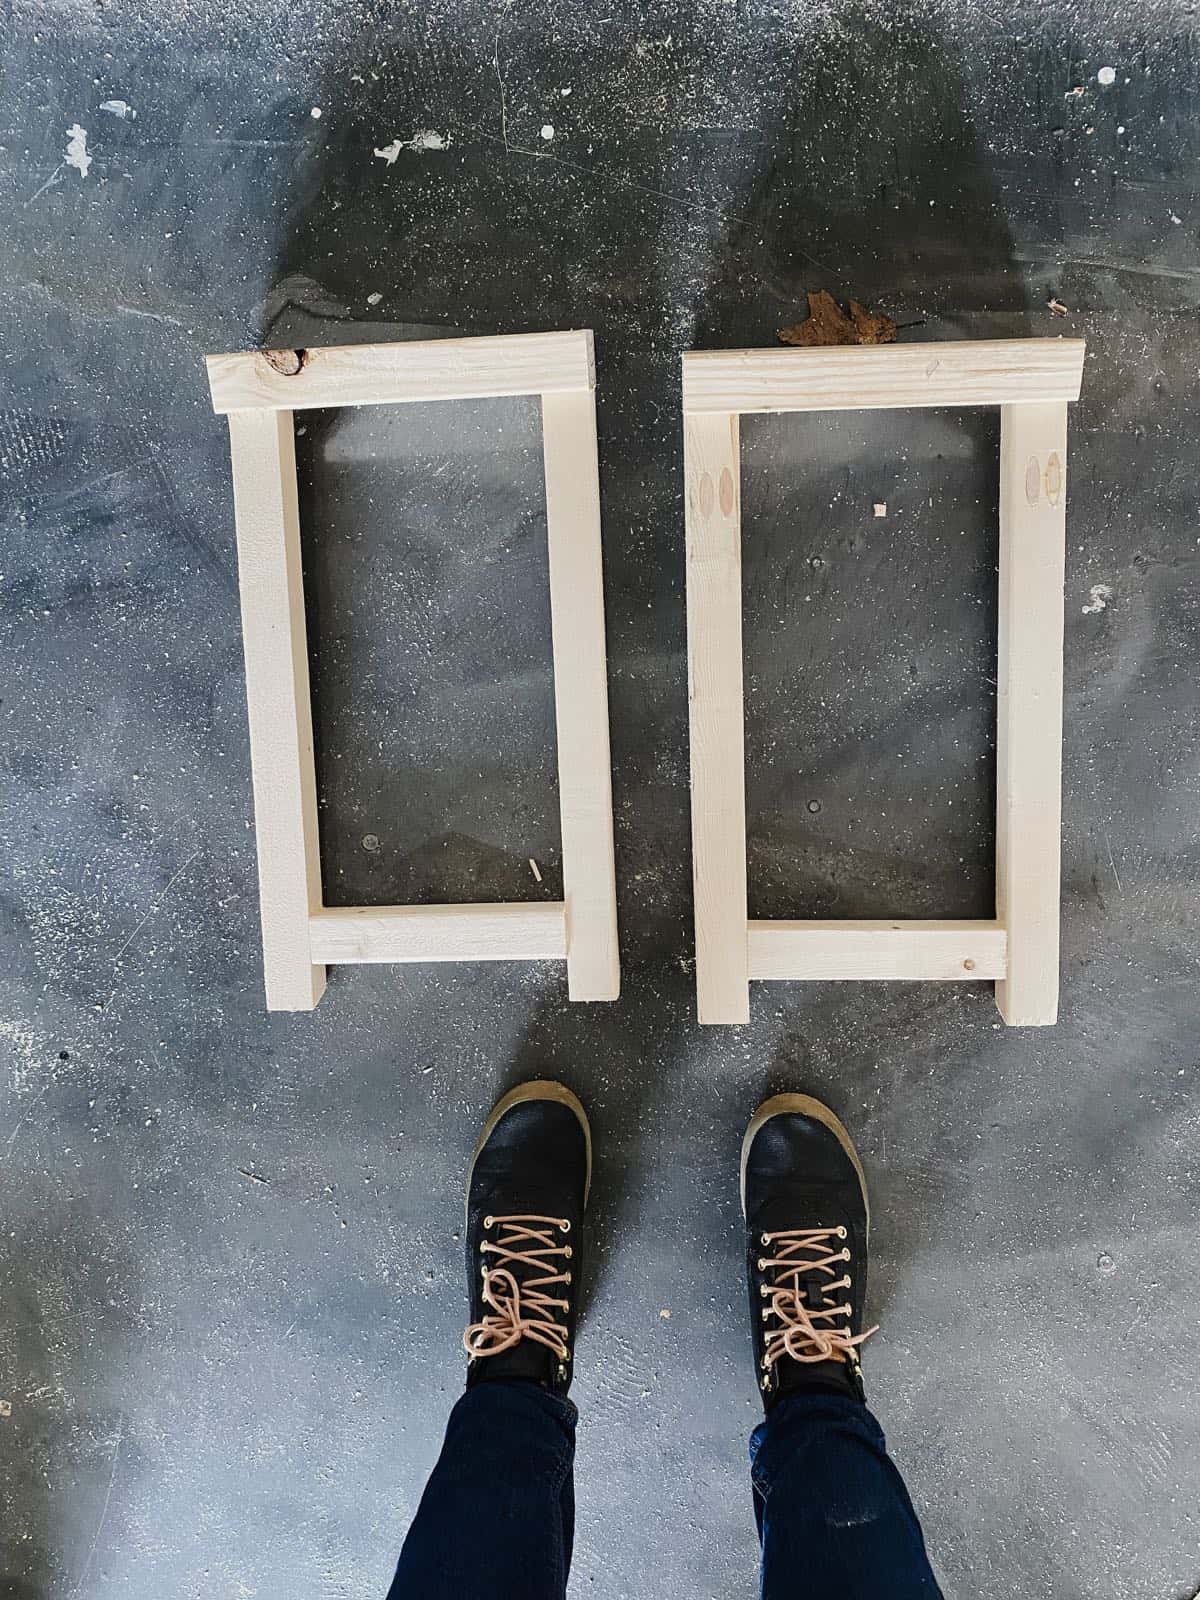
Cut a 2×2 piece to fit the distance between the legs, drill pocket holes in each side of it, and attach it to the two legs. It will overhang slightly on the corners, since the legs are angled – just make sure it’s lined up perfectly with the outside of the legs and you’re good to go!
When you’re done, you’ll have something that looks like this:
Step 3: Attach legs to top
Would you believe me if I told you the hard part is done?!
All that’s left to do now is piece the whole thing together. Start by cutting your 2×12 piece down to the length you want your bench (mine is 4′ long). Then, use your drill to attach the two leg pieces to the underside of the board.
I centered the 11″ 2×4 pieces widthwise on the 2×12 board, and I put them 2″ in from either side.
I simply drilled through the 2×4 and into the 2×12 to attach them.
Once that’s done, you’re almost there! You just need one more support piece to keep everything super stable.
Measure the distance between the support pieces on the two legs. Cut a board that is exactly that length, with 15-degree angles on each end so that it slides right onto the angled legs.
Drill pocket holes on each end (make sure you put them on the side that will be facing the ground if you don’t want to have to fill them), then attach it to the support pieces.
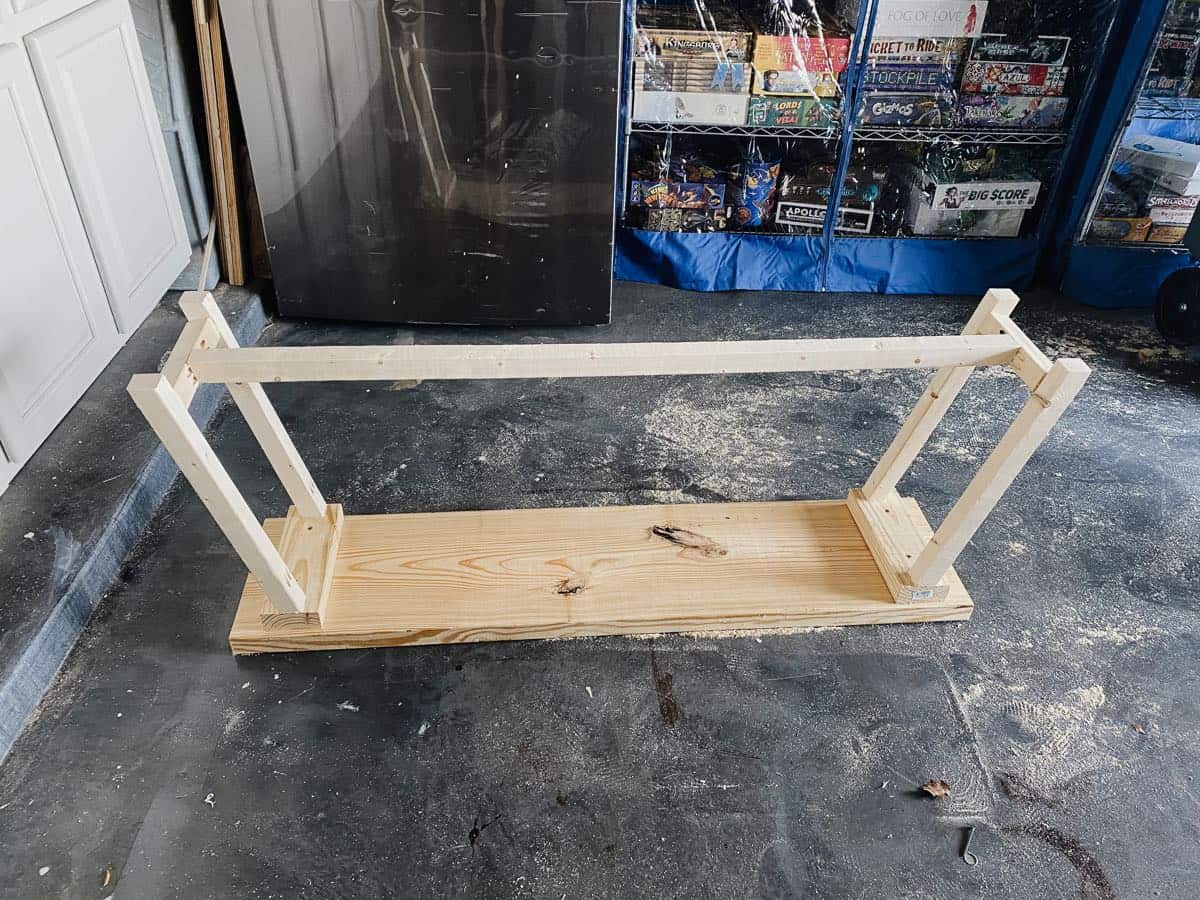
Your finished bench will look a little something like this (except, you know, right-side-up):
Step 4: Distress Bench
Here’s where things get fun! If you want your bench to look a bit rustic and feel like you found it tucked away in a forgotten corner of an antique store (and isn’t that what you want it to look like?!), you’re going to want to spend some time distressing it.
Distressing wood is a totally artsy, there-are-no-rules kind of process, and it’s really fun.
Basically, all you’re going to do is beat it up.
Seriously. Grab some hammers, some old chains, a couple bags filled with screws, and just go to town.
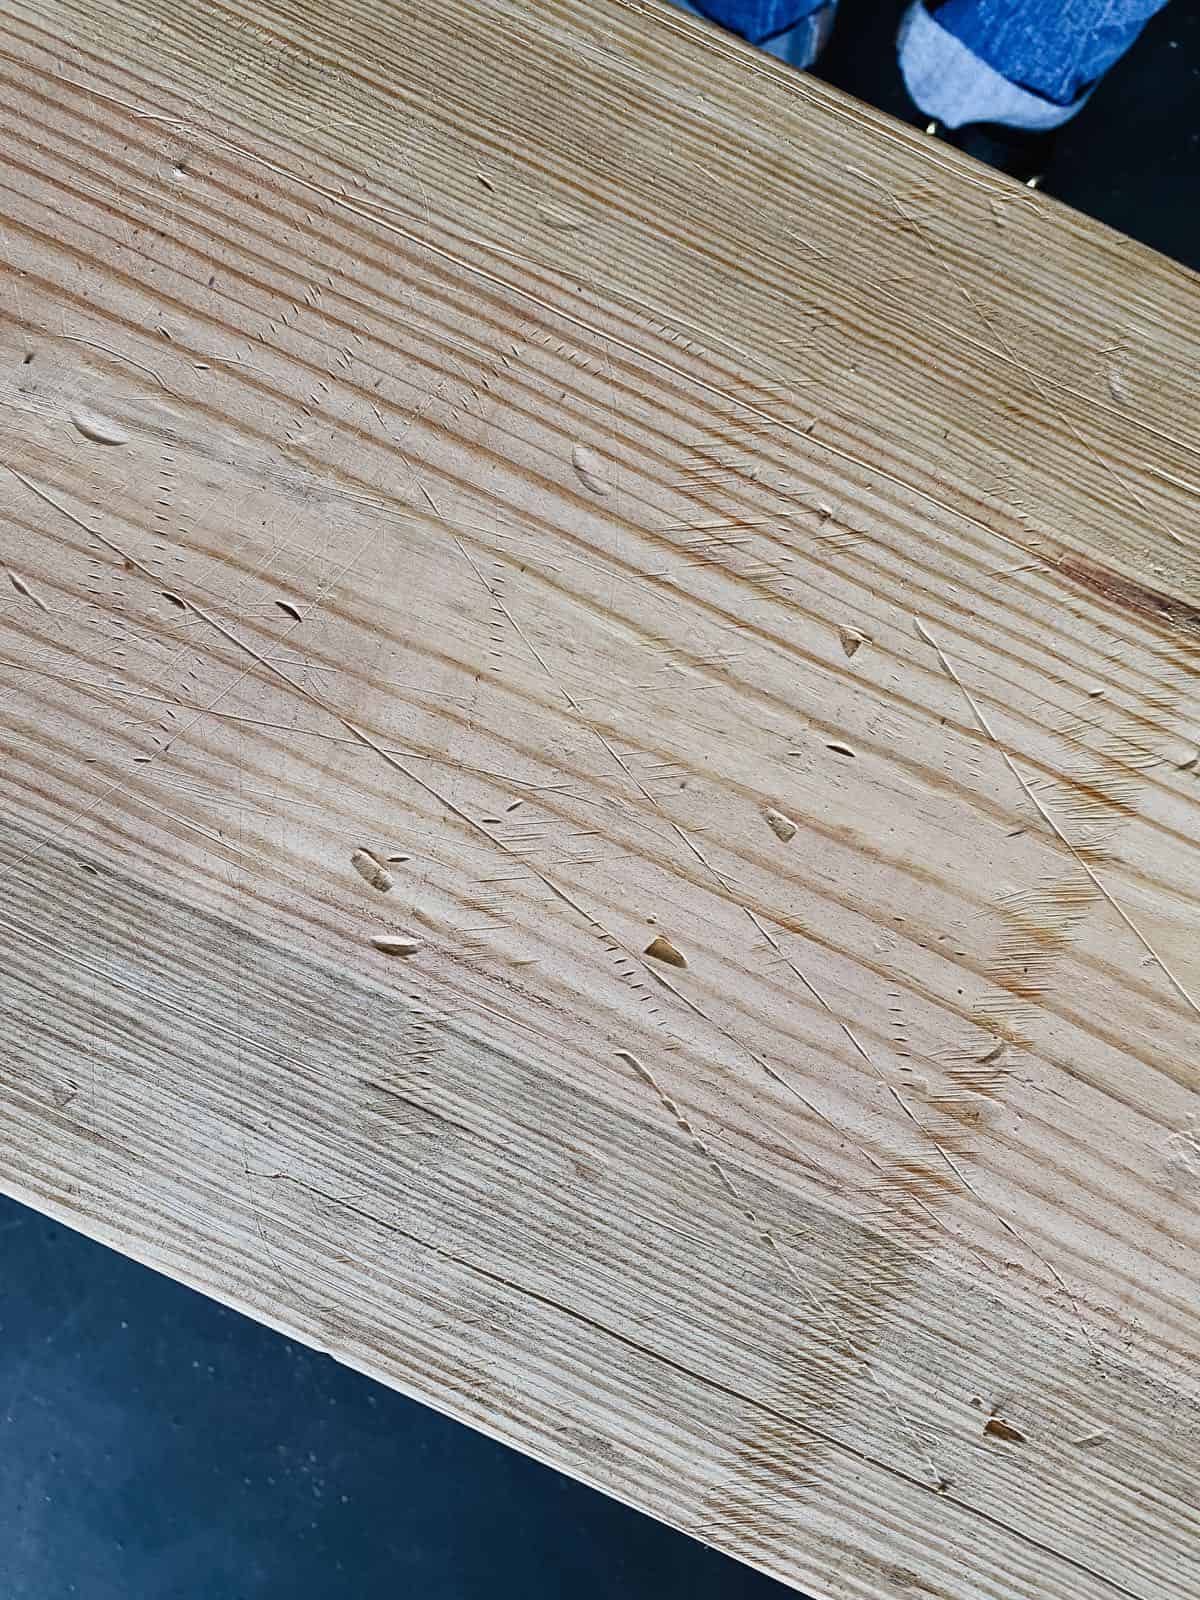
Beat on it, scrape things on it, rough it up. You want to create gouges in the wood that look like they happened naturally over time. It will feel weird and wrong at first, but you’ll get the hang of it and I promise it’s fun!
If you have a belt sander on hand, that’s also a really great way to get some good texture and distressing on your wood!
I just used a hammer, some screws, and a screwdriver. I hammered both ends of the hammer into the wood, scraped the screwdriver along the wood, and hammered the nails into the wood.
Step 5: Sand and Stain
After you’ve finished distressing your bench and you’re happy with the amount of texture and character you’ve added, it’s time to sand.
This is really important because it’ll make the difference between a bench that looks like a bunch of pine you beat up yourself and a bench that looks like it’s 100 years old. Promise.
Start with an 80-grit sandpaper and go over the bench really thoroughly. Pay close attention to the edges and corners of the wood – you want them to be soft and rounded, like they’ve worn down over time.
Progress through higher grit sandpaper until you finish the whole thing off at a 400-grit. This will soften up some of the harsh lines from your distressing, make the bench as smooth as glass, and reeeeeally bring things together.
Sanding is the most tedious part of any building process, but I promise all the time and effort is 100% worth it.
Once it’s sanded, you’re ready to stain it. I actually chose to use Varathane’s Aged Wood Accelerator for the bench. It’s different than a traditional stain (and a little easier to use if you’re a newbie!) and I looooove the look it gave the bench. It’s specifically intended to give new wood an aged, vintage-y look and it did such a good job.
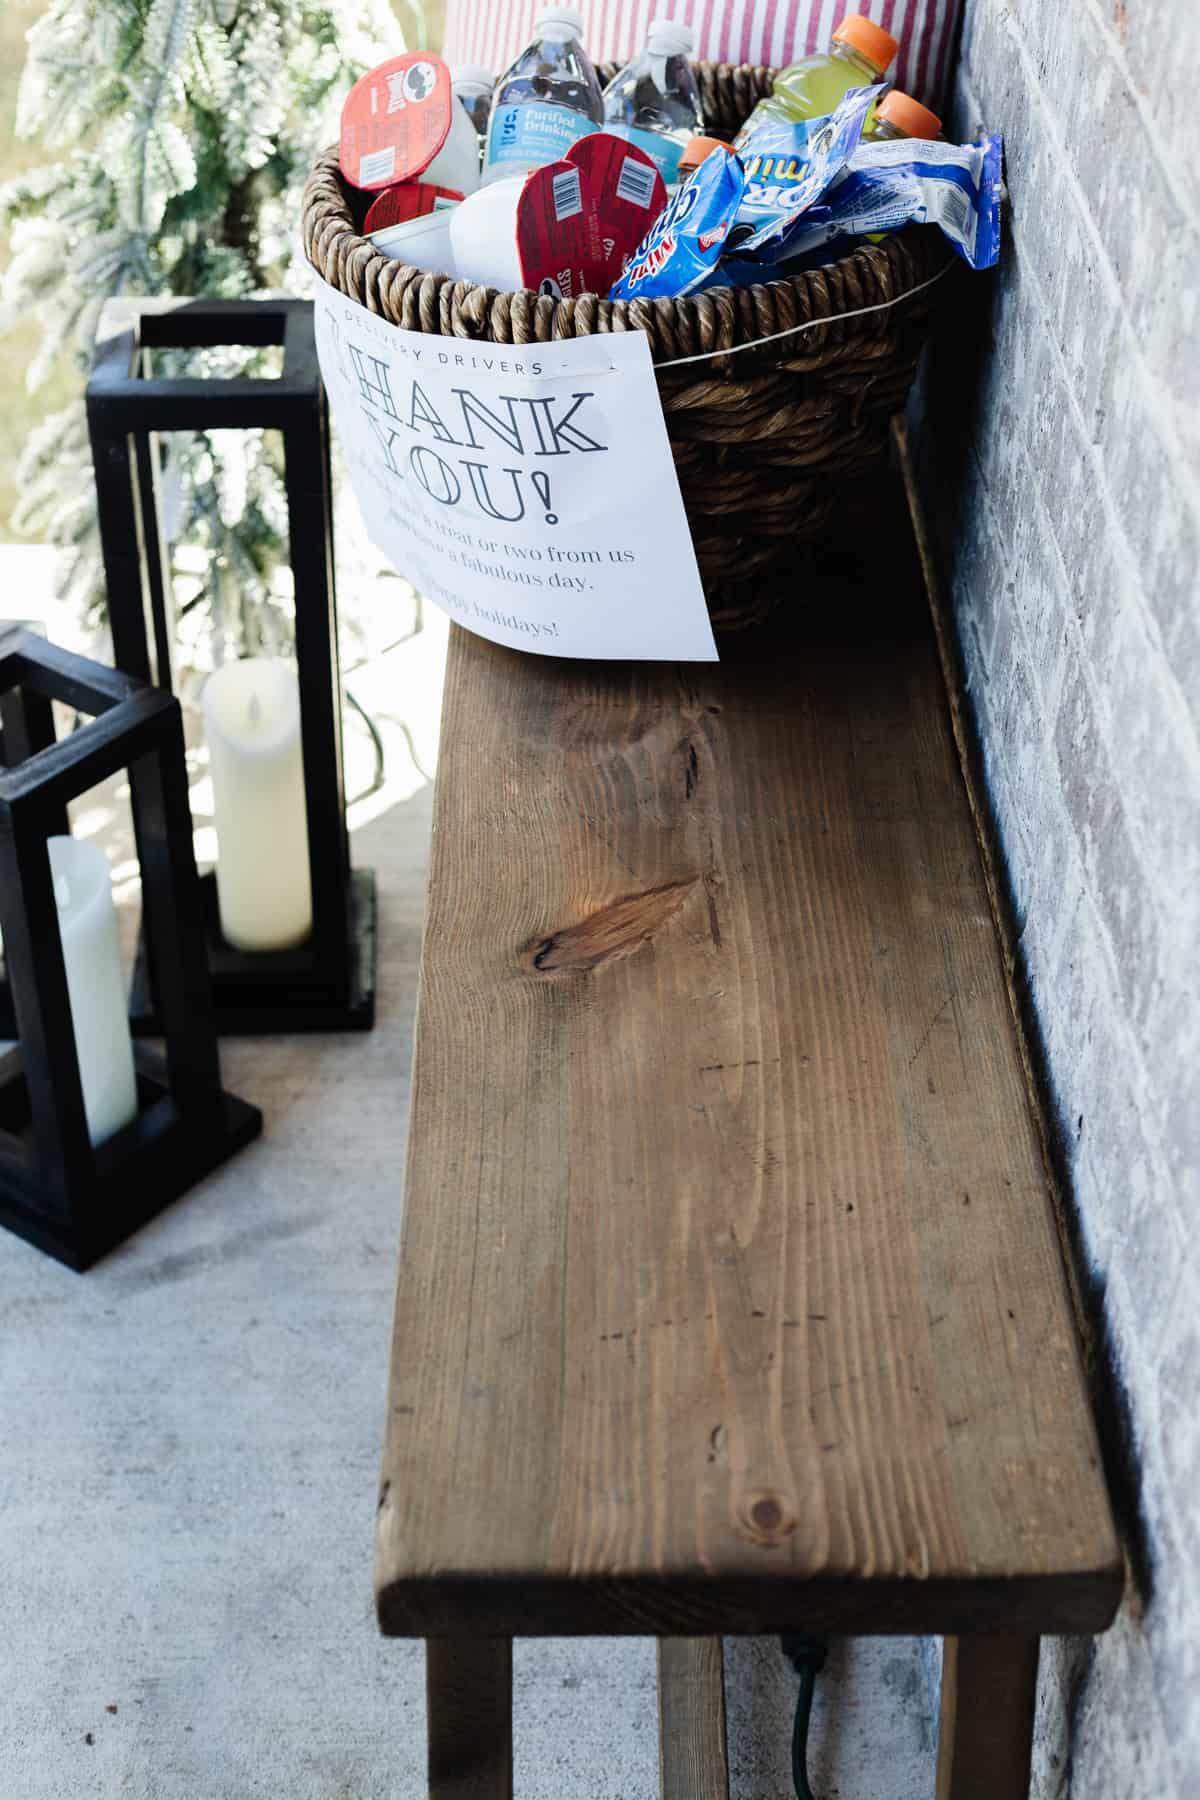
Once my stain dried, the bench was ready to go back in place!
Step 6: Set it up!
We grabbed a basket from inside that we weren’t using and filled it up with drinks, snacks, and treats for our delivery drivers. We also added a little note to the front of the basket so they knew for sure it was for them – they aren’t going take it if you aren’t 100% clear that they’re supposed to!
We’ve already seen a few delivery drivers get excited and take a treat or two, and it makes us smile every time!
Who knew a little bench could spread so much holiday cheer?!
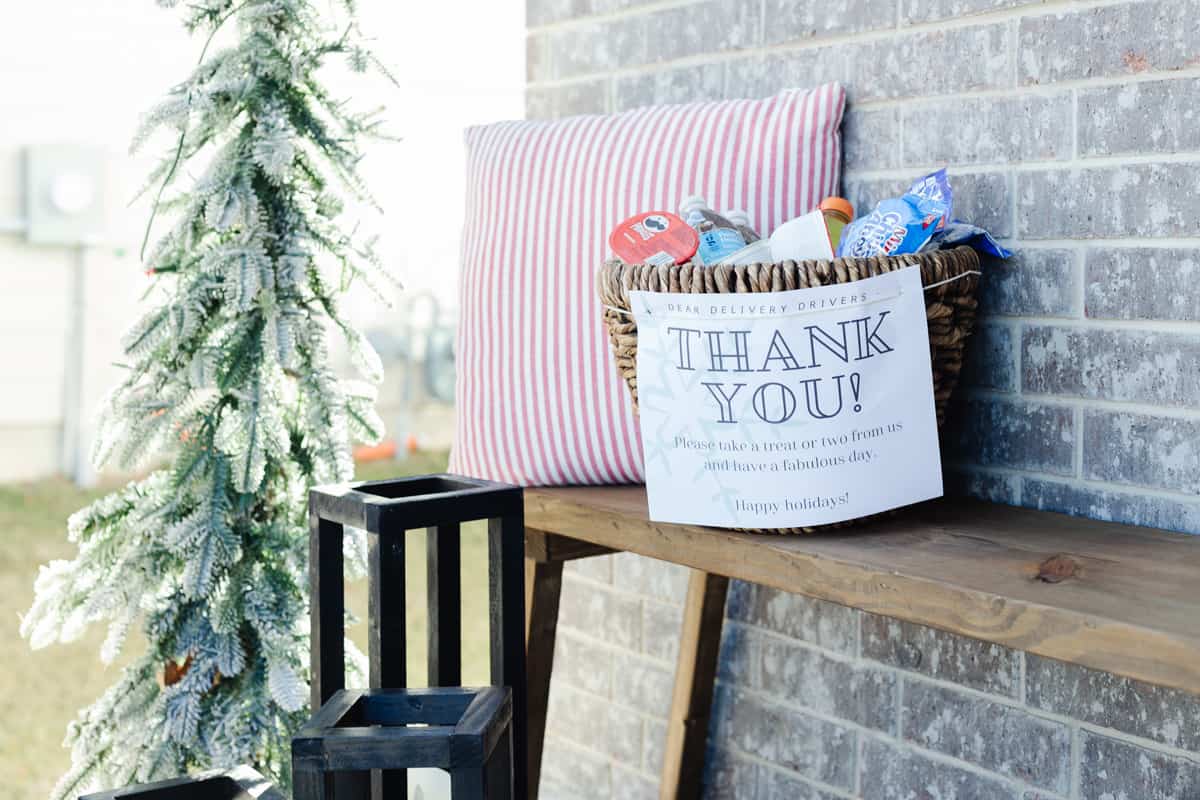

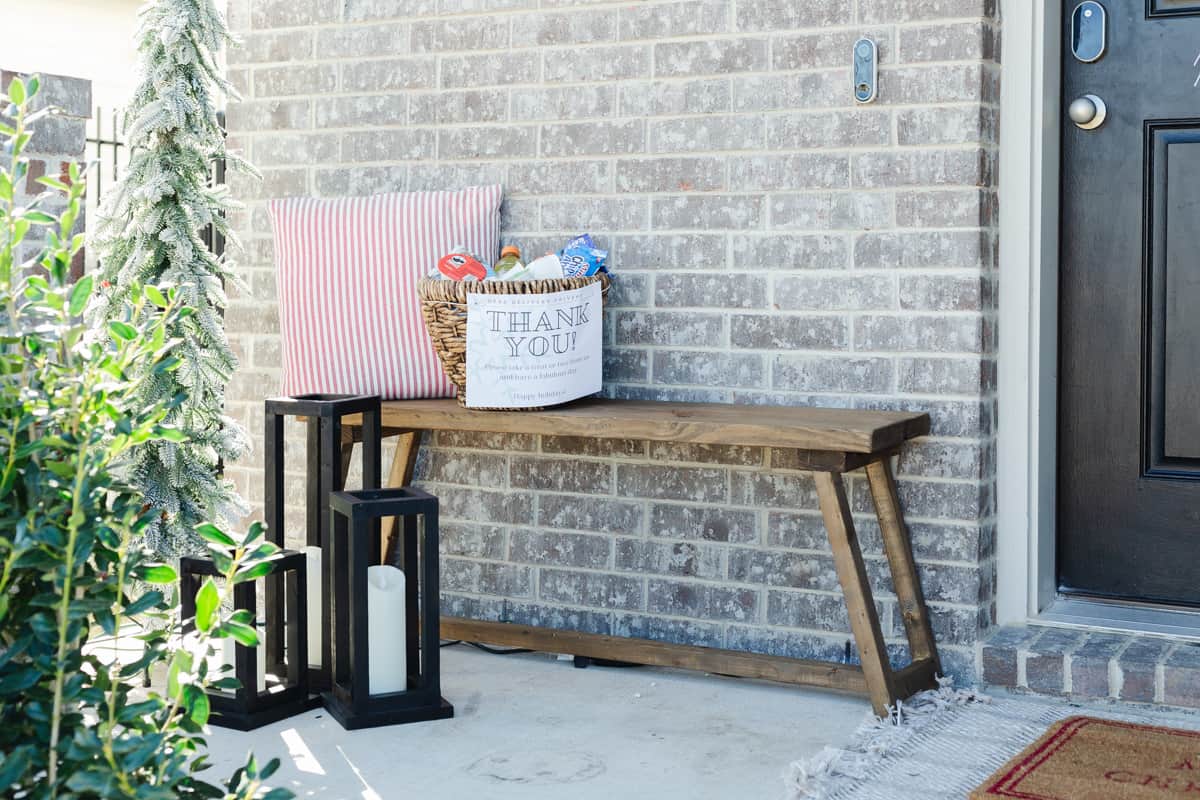
If you want to see more on this project and a ton of other projects you can create with your Kreg Jig, be sure to click on over to their website and browse around. They have hundreds of woodworking plans and ideas and it’s a great way to help get yourself comfortable with using a Kreg Jig!
A few posts you might find helpful…
Need some more tips? Here are a few posts that might give you some extra help!
- How to use a Kreg Jig
- Tape measure tips & tricks
- How to use a miter saw
- Tips for how to stain wood
- How to use a drill
The post Easy DIY Bench {Perfect for the Front Porch!} appeared first on Love & Renovations.
